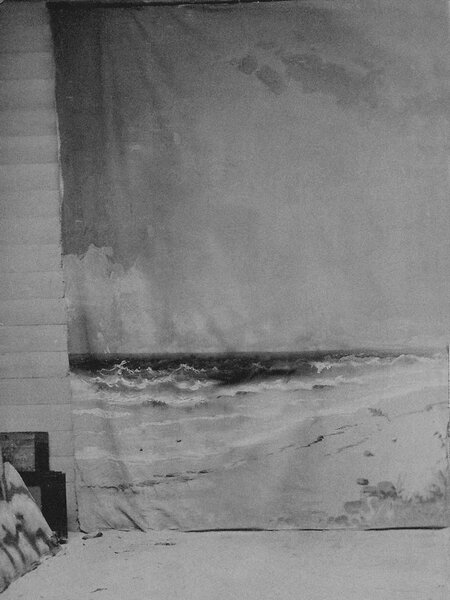
Before Climax
Photo © David Coste

Before Climax
Photo © David Coste

Before Climax
Photo © David Coste

Before Climax
Photo © David Coste

Before Climax
Photo © David Coste

Before Climax
Photo © David Coste